In Photoshop:
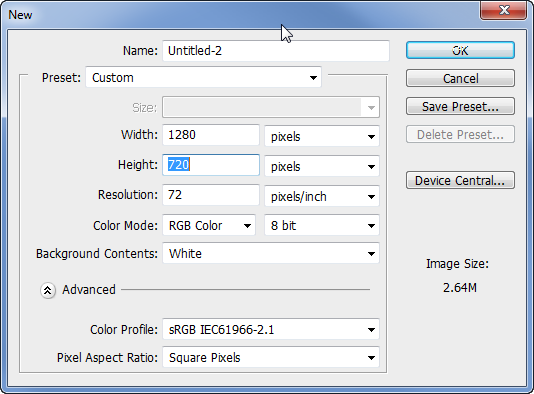
Now open up Photoshop, go to File > New and set your desired width and height. I chose to go with 1280 x 720px, White background. Click OK.
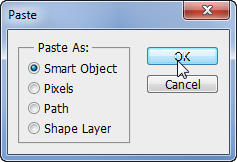
Now in your new Photoshop document, go to Edit > Paste and you’ll get a paste dialogue window that allows you to choose how you’d like to paste this in. Choose Smart Object and click OK.
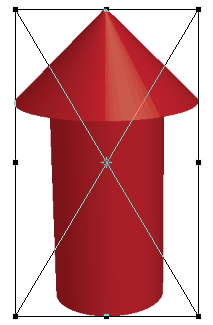
Now your rocket has been imported straight from Illustrator! You’ll see it as a Vector Smart Object in Photoshop. You can now size and position it to your liking.
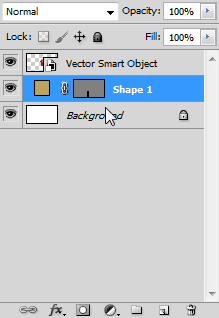
Lets make the stick holding the rocket. Select the Rectangle Tool (![]() ) and draw the stick out as a shape layer. I drew it on the left side of the rocket and positioned the layer below the rocket. I’ve also changed the color by double clicking the Layer Thumbnail and chose a desaturated yellow color #bea25f.
) and draw the stick out as a shape layer. I drew it on the left side of the rocket and positioned the layer below the rocket. I’ve also changed the color by double clicking the Layer Thumbnail and chose a desaturated yellow color #bea25f.

Now lets create the fuse. Select the Pen Tool(![]() ) and with Shape Layer selected draw out the fuse.
) and with Shape Layer selected draw out the fuse.![]()
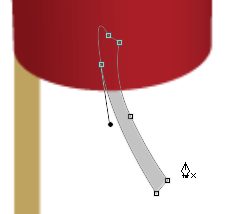
I’ve then changed the color of the wick to a dark green #406440.
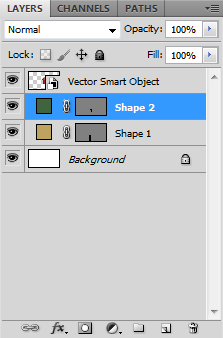
We can even double click the layer and add a Pattern Overlay. I chose the Woven Flat pattern and scaled it down to 1% and brought the opacity down to 10%.
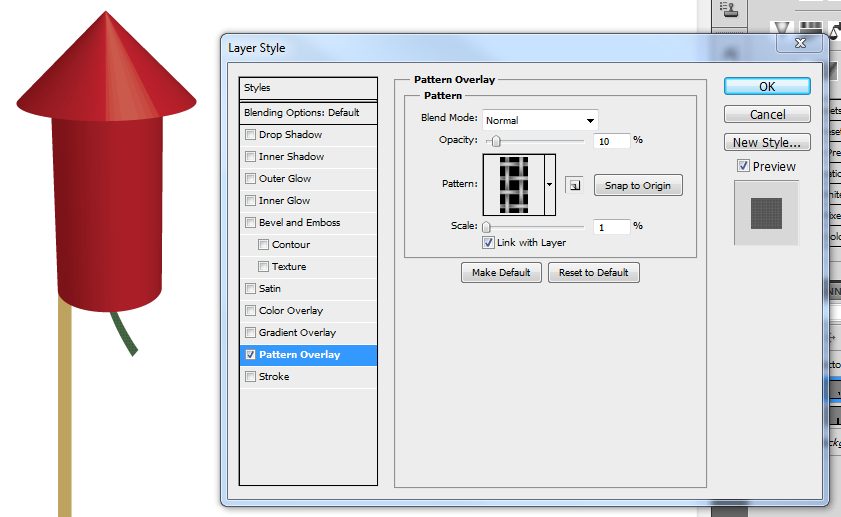
Okay, now we need to make the spark as if the fuse has been lit.
Create a new Layer and name it, “Spark“.
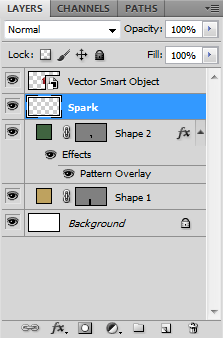
Select the Brush tool(![]() ). Choose one of the Spatter brushes. We now need to edit this brush. Hit F5 to bring up the brush window or go to Window > Brush.
). Choose one of the Spatter brushes. We now need to edit this brush. Hit F5 to bring up the brush window or go to Window > Brush.
In the Brush Top Shape section, I’ve set mine to 59 px. I also brought the spacing up to 35%.
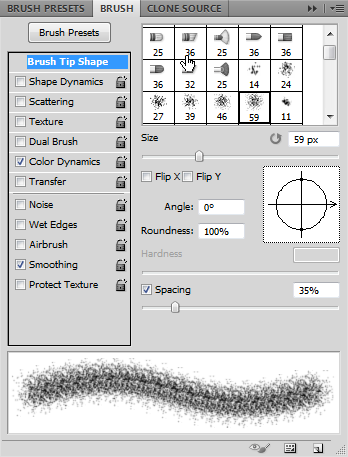
We’re also going to add Color Dynamics to this brush. Bring the Foreground/Background Jitter all the way up to 100%. Everything else can be at zero.
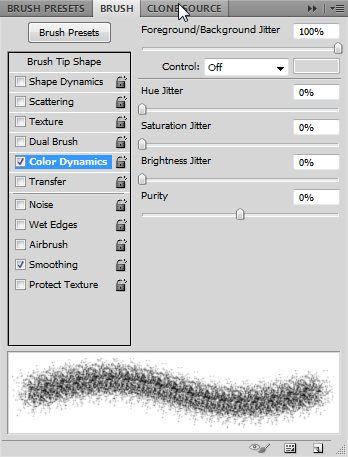
Since we have our brush set to Foreground/Background Jitter, we need to set the Foreground to a nice Orange (#ff7800) color and the Background to a nice Yellow (#ffe400) color as seen below.
![]()
Draw on top of the fuse where you’d like it to be lit. You’ll end up with this result. Not very fuse like, is it?
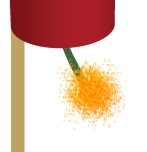
Well lets go ahead and Warp this. With the Spark layer selected go to Edit > Transform > Warp or hit Ctrl-T as a shortcut.
Lets warp this so it looks more like a fuse flame like.
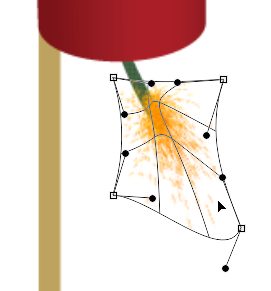
When you’re satisfied with the result, hit enter. You can position this to your liking. Maybe move it around or re-size it.
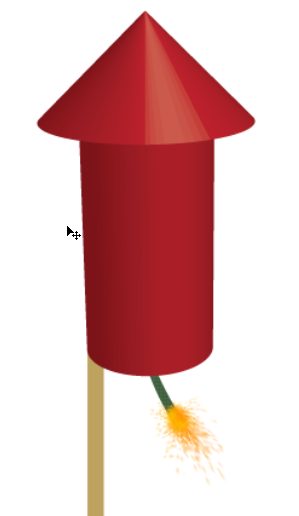
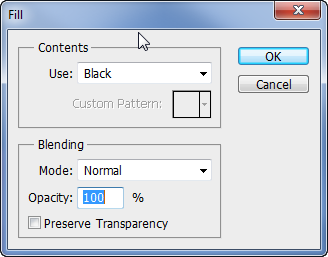
Looking good! Now we need to create the smoke. Before we do this, lets go ahead and make the background Black. Double click the Background layer to turn it into a “real” layer. Go to Edit > Fill and fill it in with Black.
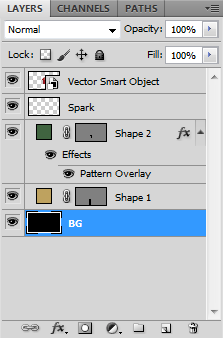
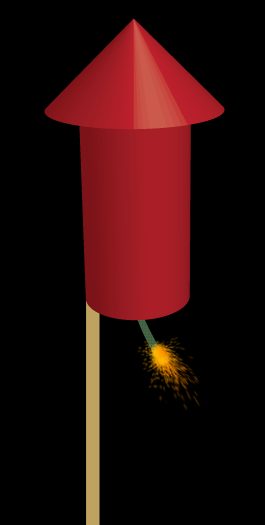
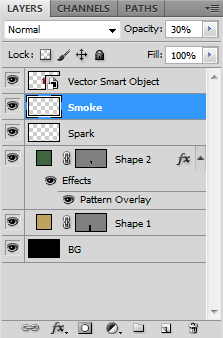
To create the smoke, create another new layer above the Spark layer and name it, “Smoke“.
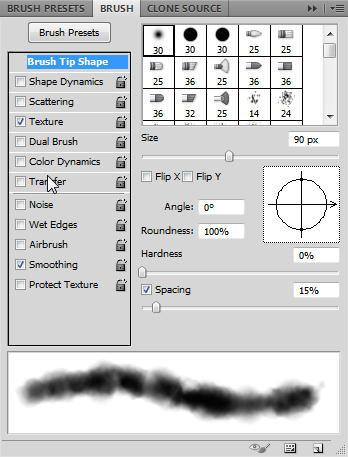
Choose a nice soft brush. We can go back into the Brush settings and change up a few things. In the Brush Tip Shape, I brought the size up to 90 px and the Spacing up to 15%.
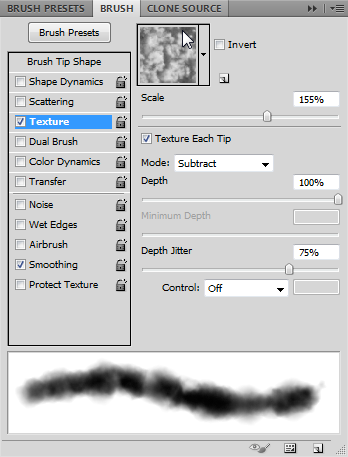
Lets add a Texture to this brush. I chose the Cloud texture and scaled it up to around 155%. I’ve also adjusted the Depth Jitter to 75%.
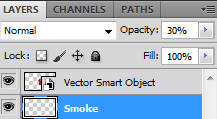
Set the Foreground color to a light Grey(#b9b9b9) color and draw out the smoke. Too bright, huh? Bring the opacity down for the Smoke layer to around 30%.
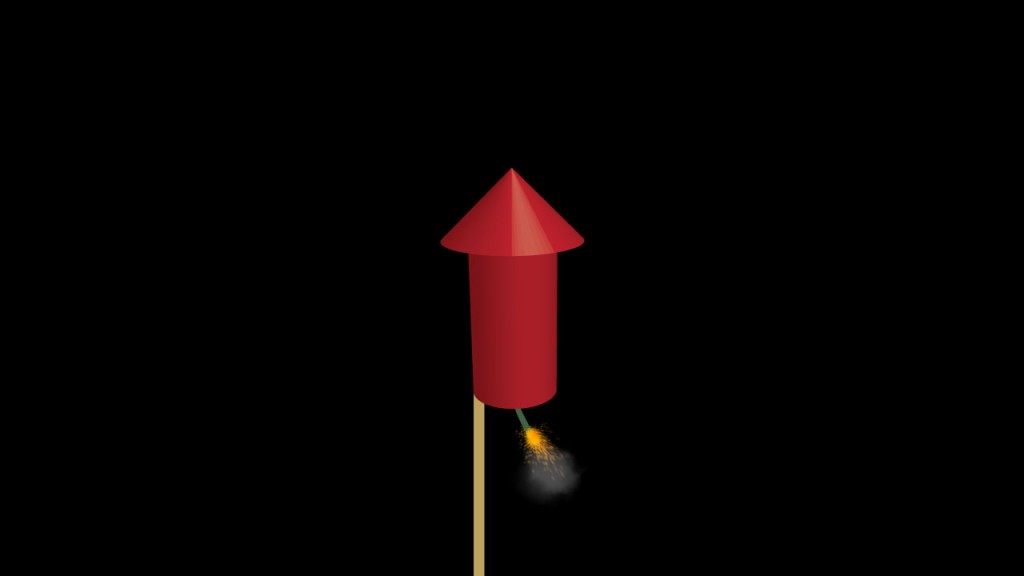
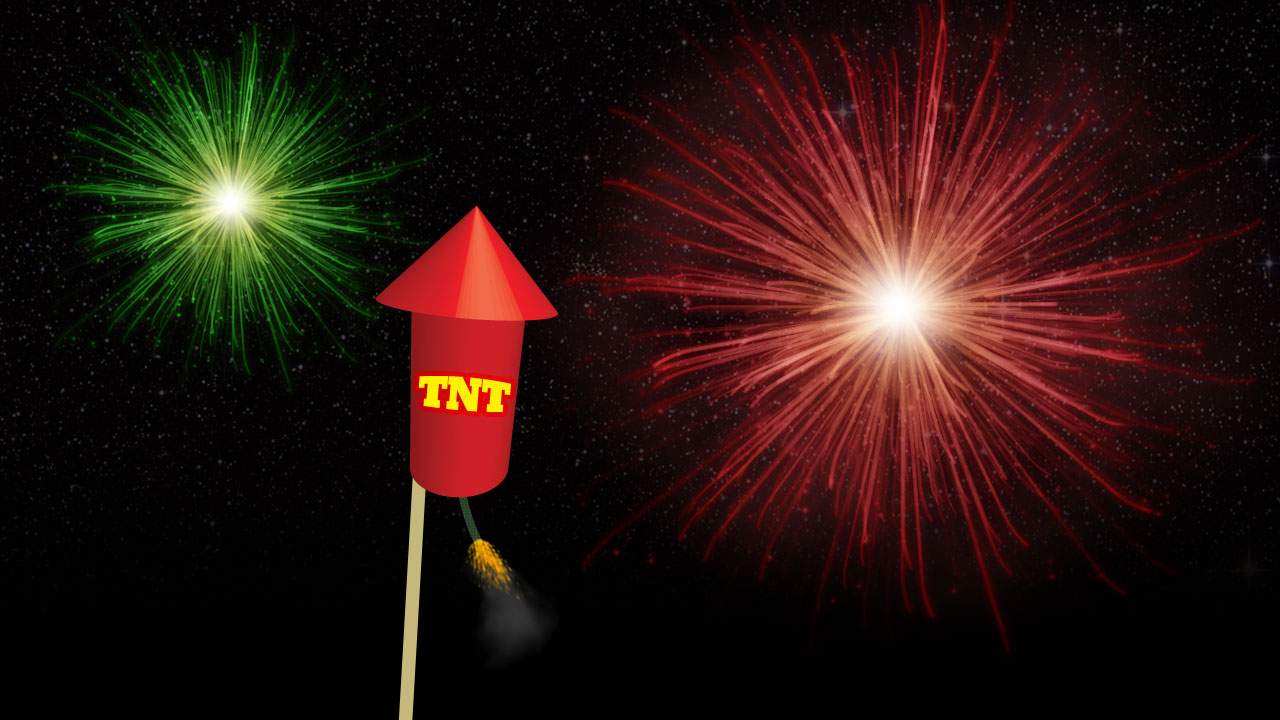
There we have our rocket! Now you can create some abstract fireworks to go along with this by following IceflowStudios’ tutorial here! There are many possibilities you can do with this rocket and modify it to your needs. An idea would be to add some TNT text on the rocket itself.

Download Project Files. PSD, AI. 2.3mb
If you use this in any of your projects, I’d love to see it! Post it to our Facebook page!
Do you think the world will end in 2012? Leave a comment below!



Comments