Programs Used: Adobe Photoshop, Adobe Illustrator
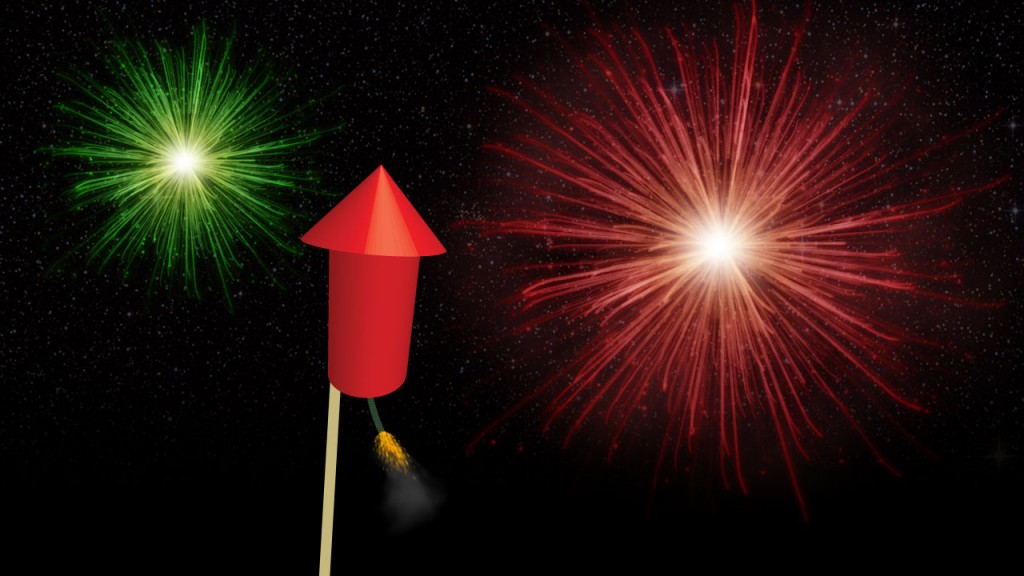
Learn how to make the fireworks here!
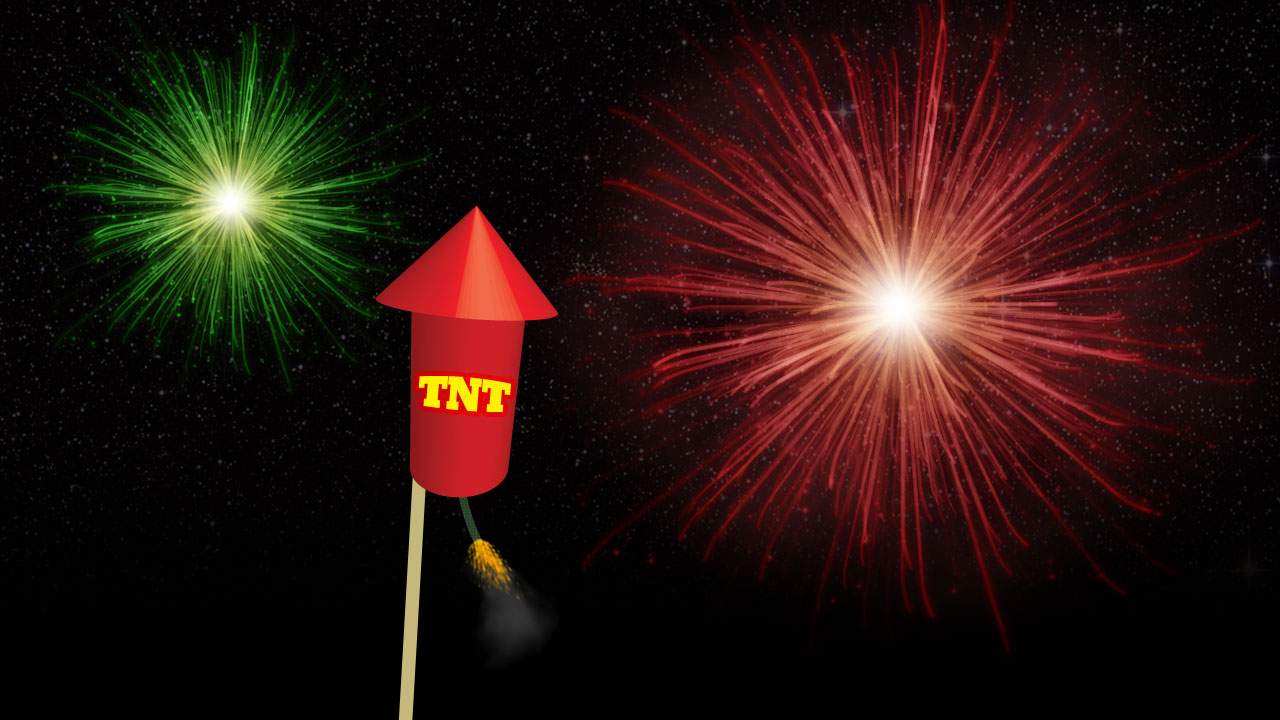
I can’t believe 2011 is already at its end and the beginning of 2012 is almost here. As with all new years, we usually celebrate with fireworks! So, in this tutorial, I’ll take a look at creating a bottle rocket for your projects. We’ll use both Illustrator and Photoshop but don’t worry if you don’t have Illustrator as this can be completely done in Photoshop CS5 with its 3D tools.
Written Tutorial:
In Illustrator:
To start off, we’ll create the rocket itself in Adobe Illustrator. If you don’t have any experience with Illustrator, no problem. This first method is extremely easy.
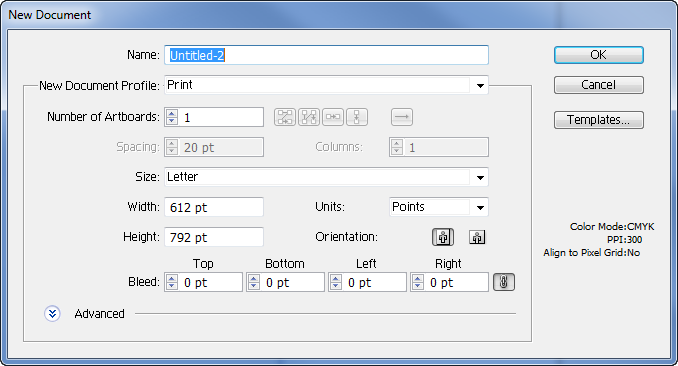
Create a New Document by going to File > New and with all the default settings, click OK.
Now in the tools pallet click the Pen Tool (![]() )
)
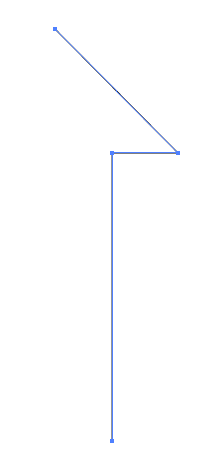
Draw half of the rocket as shown in the image below. Hold down Shift when making the straight lines. Holding shift will make the lines stay perfectly straight and not move around.
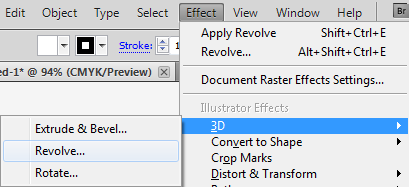
Now click Effect > 3D > Revolve.
In the 3D Revolve Options dialogue window, click the check box next to Preview so we can preview the effect.
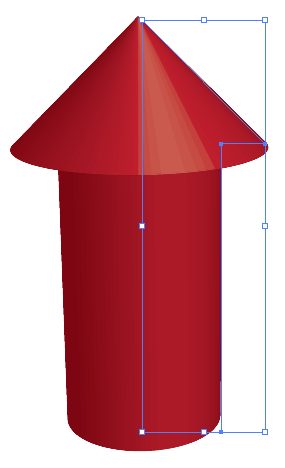
Looking good, now lets give it a little Perspective, I’ve set mine at 60 degrees. I’d even recommend using something like 80 degrees on your perspective. Especially when you thicken the rocket in the steps below.
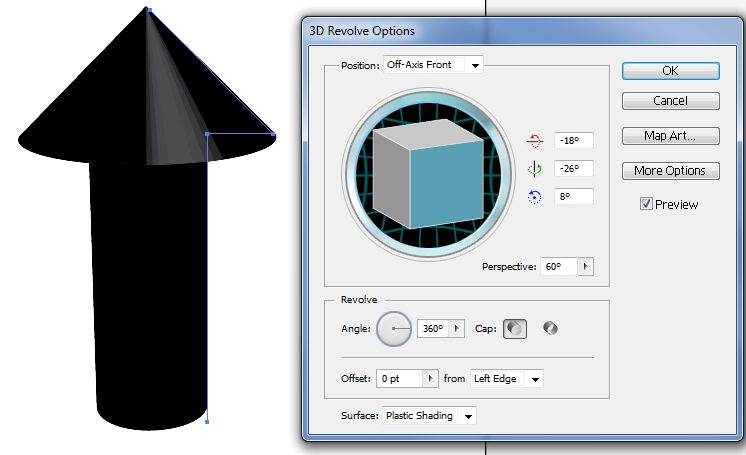
That’s it, click OK.
Now if you want the rocket to be a little fatter, you can choose the Direct Selection Tool (![]() ). Select the two points for the bottom of the rocket and drag them to the left or right, holding shift to make sure everything stays in place. Click first then press Shift.
). Select the two points for the bottom of the rocket and drag them to the left or right, holding shift to make sure everything stays in place. Click first then press Shift.
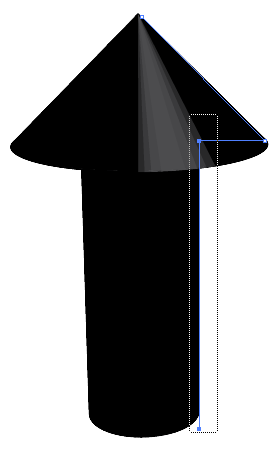
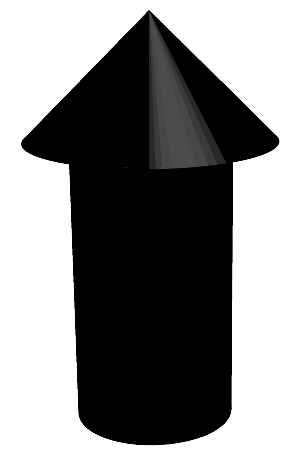
Now you may notice, the rocket is now black! Select it and up at the top for the stroke color, Change it to Red or whatever color you’d like your rocket to be. Your rocket should now be the color you’ve chosen.
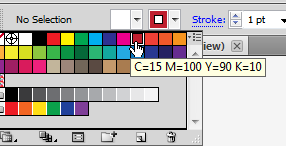
Make sure your rocket is selected.
Go to Edit > Copy at the top.



Comments