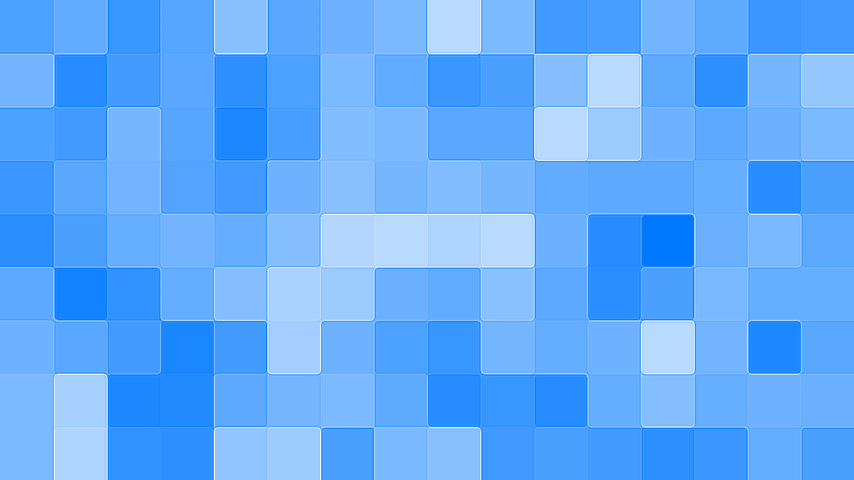
Today, we’ll be taking a look at creating this neat little Mosaic Pattern like what you see below. This effect will look great when creating backgrounds or even text patterns.
Video
Written Tutorial
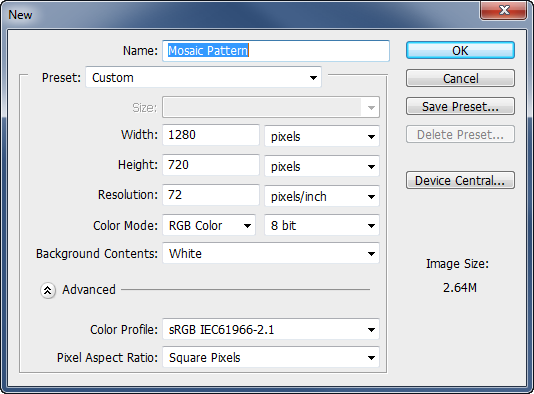
I’m going to start off by creating a new document. File > New with a name of “Mosaic Pattern” and a size of 1280 x 720 pixels. With everything else at default, click OK.
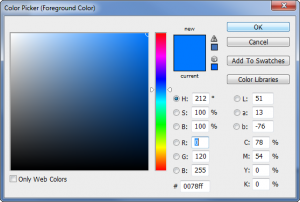
We now have our new blank document to work with. We need to set the colors we’d like to use for the Mosaic Pattern. I set my foreground color to a lighter blue, #0078ff and left the background color at white.
[one_half]
[one_half_last]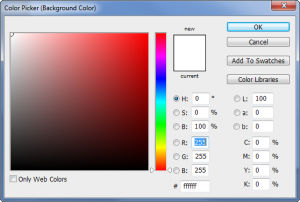 [/one_half_last]
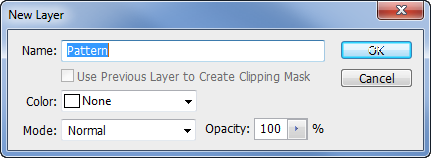
With that done, I’m going to double-click the Background layer to turn it into a real layer because right now it’s locked. We can name it, “Pattern“, click OK.
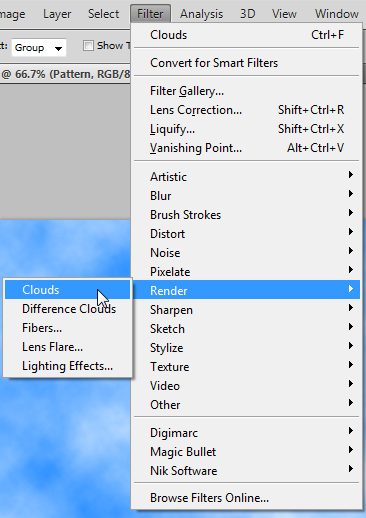
Go on up to Filter > Render > Clouds. We’re left with some fairly realistic clouds if you used blue.
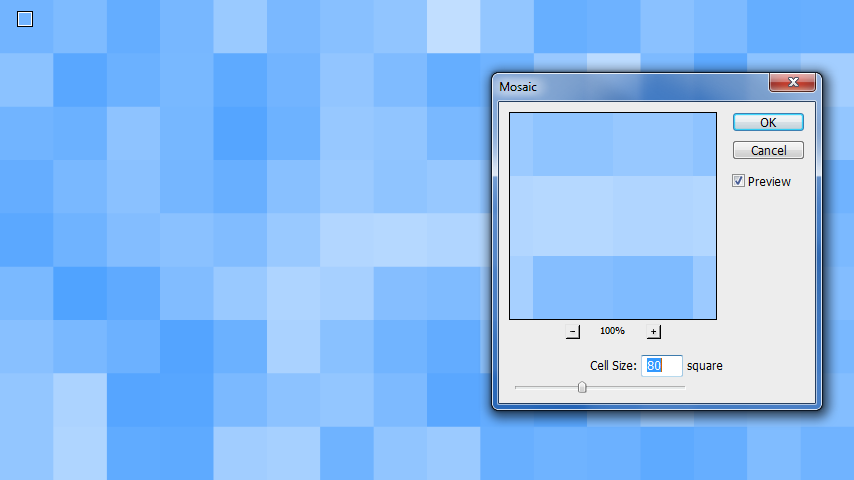
Not for long, now go up to Filter > Pixelate > Mosaic and set the mosaic to any cell size depending on how big you’d like the squares to be. I’ve set mine to 80 square. Click OK.
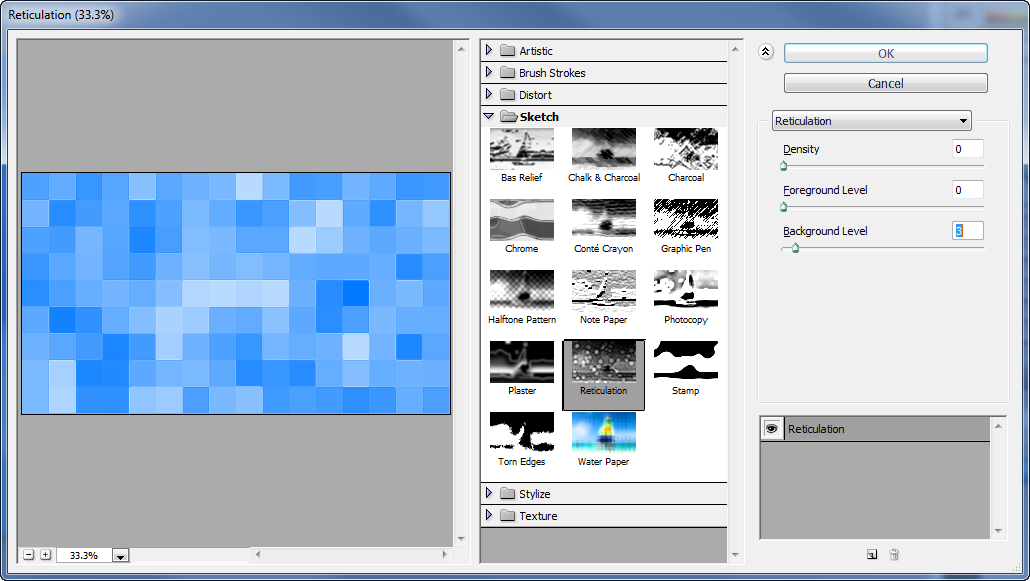
Now for the final effect. Go to Filter > Sketch > Reticulation. Here, I brought the Density and Foreground Levels down to 0. The Background Level is set to 3. You can adjust the Foreground and Background level as needed for the colors you chose until you get the effect you’re looking for. Click OK.
You should now be looking at a neat little mosaic pattern that can be used for backgrounds or even in text.
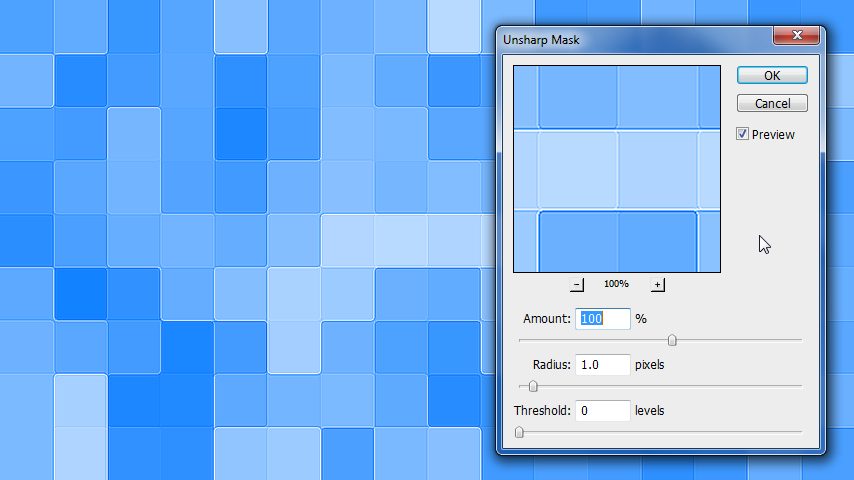
Another thing you can do to spruce it up a bit is to add some sharpness. Go to Filter > Sharpen > Unsharp Mask. Here you can adjust the settings to your liking. I’ve set mine to 100% as the Amount, Radius: 1.0 pixels and Threshold: 0.
That’s it! You’ve just created a neat looking mosaic pattern effect. This’ll work great as a background and you can even play around with the perspective and lighting to get something like this.

If you create one of these neat looking mosaic patterns, share it with us in the comments below or on our Facebook Page.




Comments